PAN TIPS: LAYOUT TRICKS
Aug 1st 2023
In a perfect world, buildings would be nice and rectangular with square corners and no need for inserts, floor drains, electrical conduit and other components that complicate the design. It may not be a perfect world, but there are some tricks designers should know to reduce the impact of these items to Pan Construction.
Irregular Building Configurations:
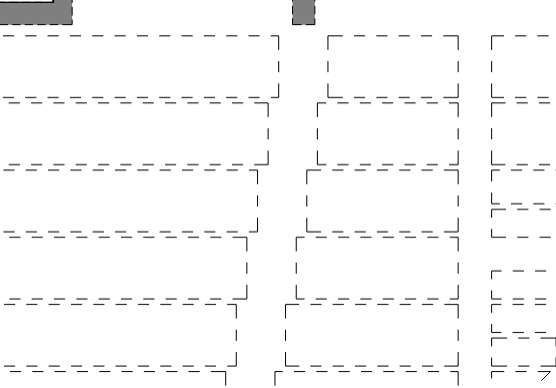
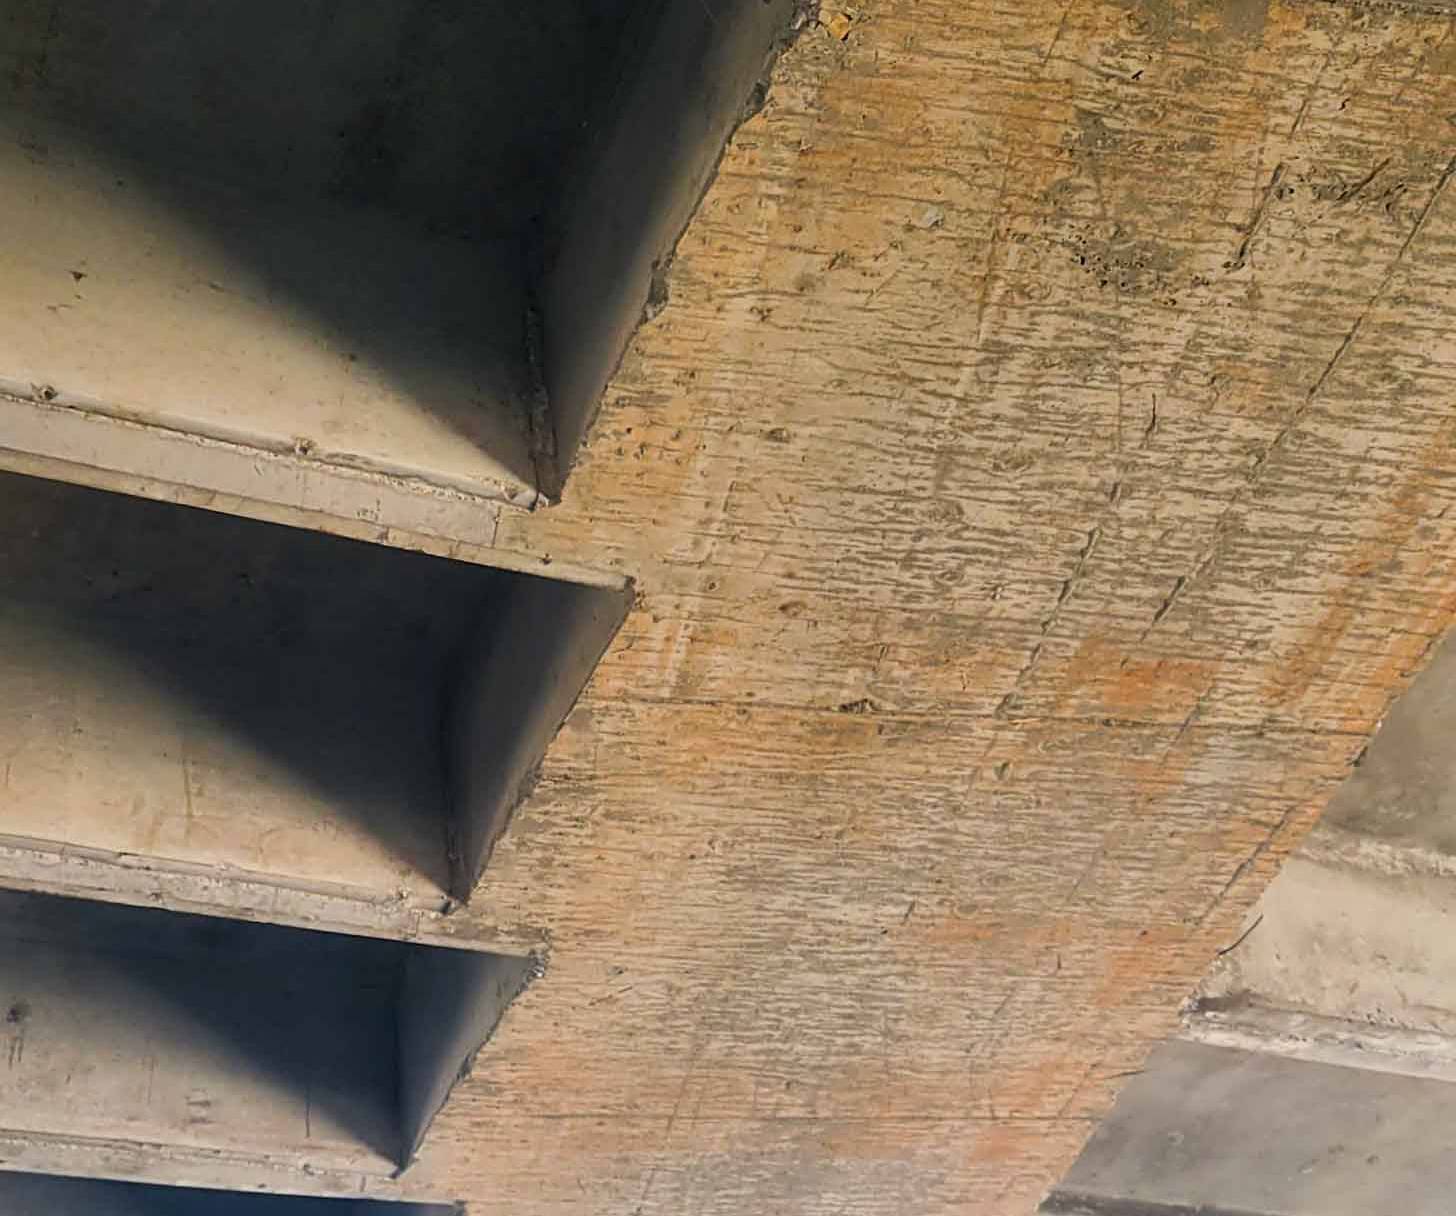
There is some flexibility in configuring Flangeform pans, simply by their nature. For buildings with radius or offset edges, workers can adjust the pan void combinations to accommodate the edges. This results in a saw-tooth void with lugs of non-structural concrete. That's OK! Building wood boxes to void out concrete is not an efficient use of labor or material. On a comparative basis, concrete is cheap! Where the offsets warrant, contractors can place narrower pans at the ends of the voids to reduce the size of lugs.
Recesses:
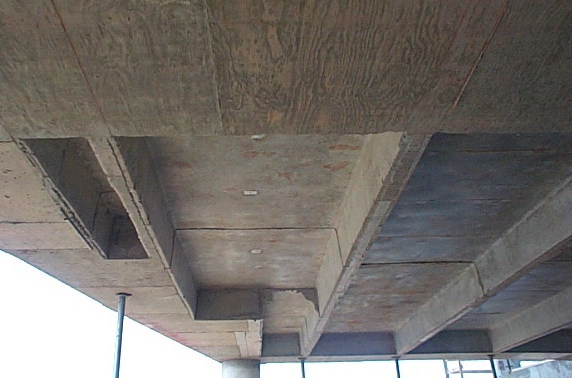
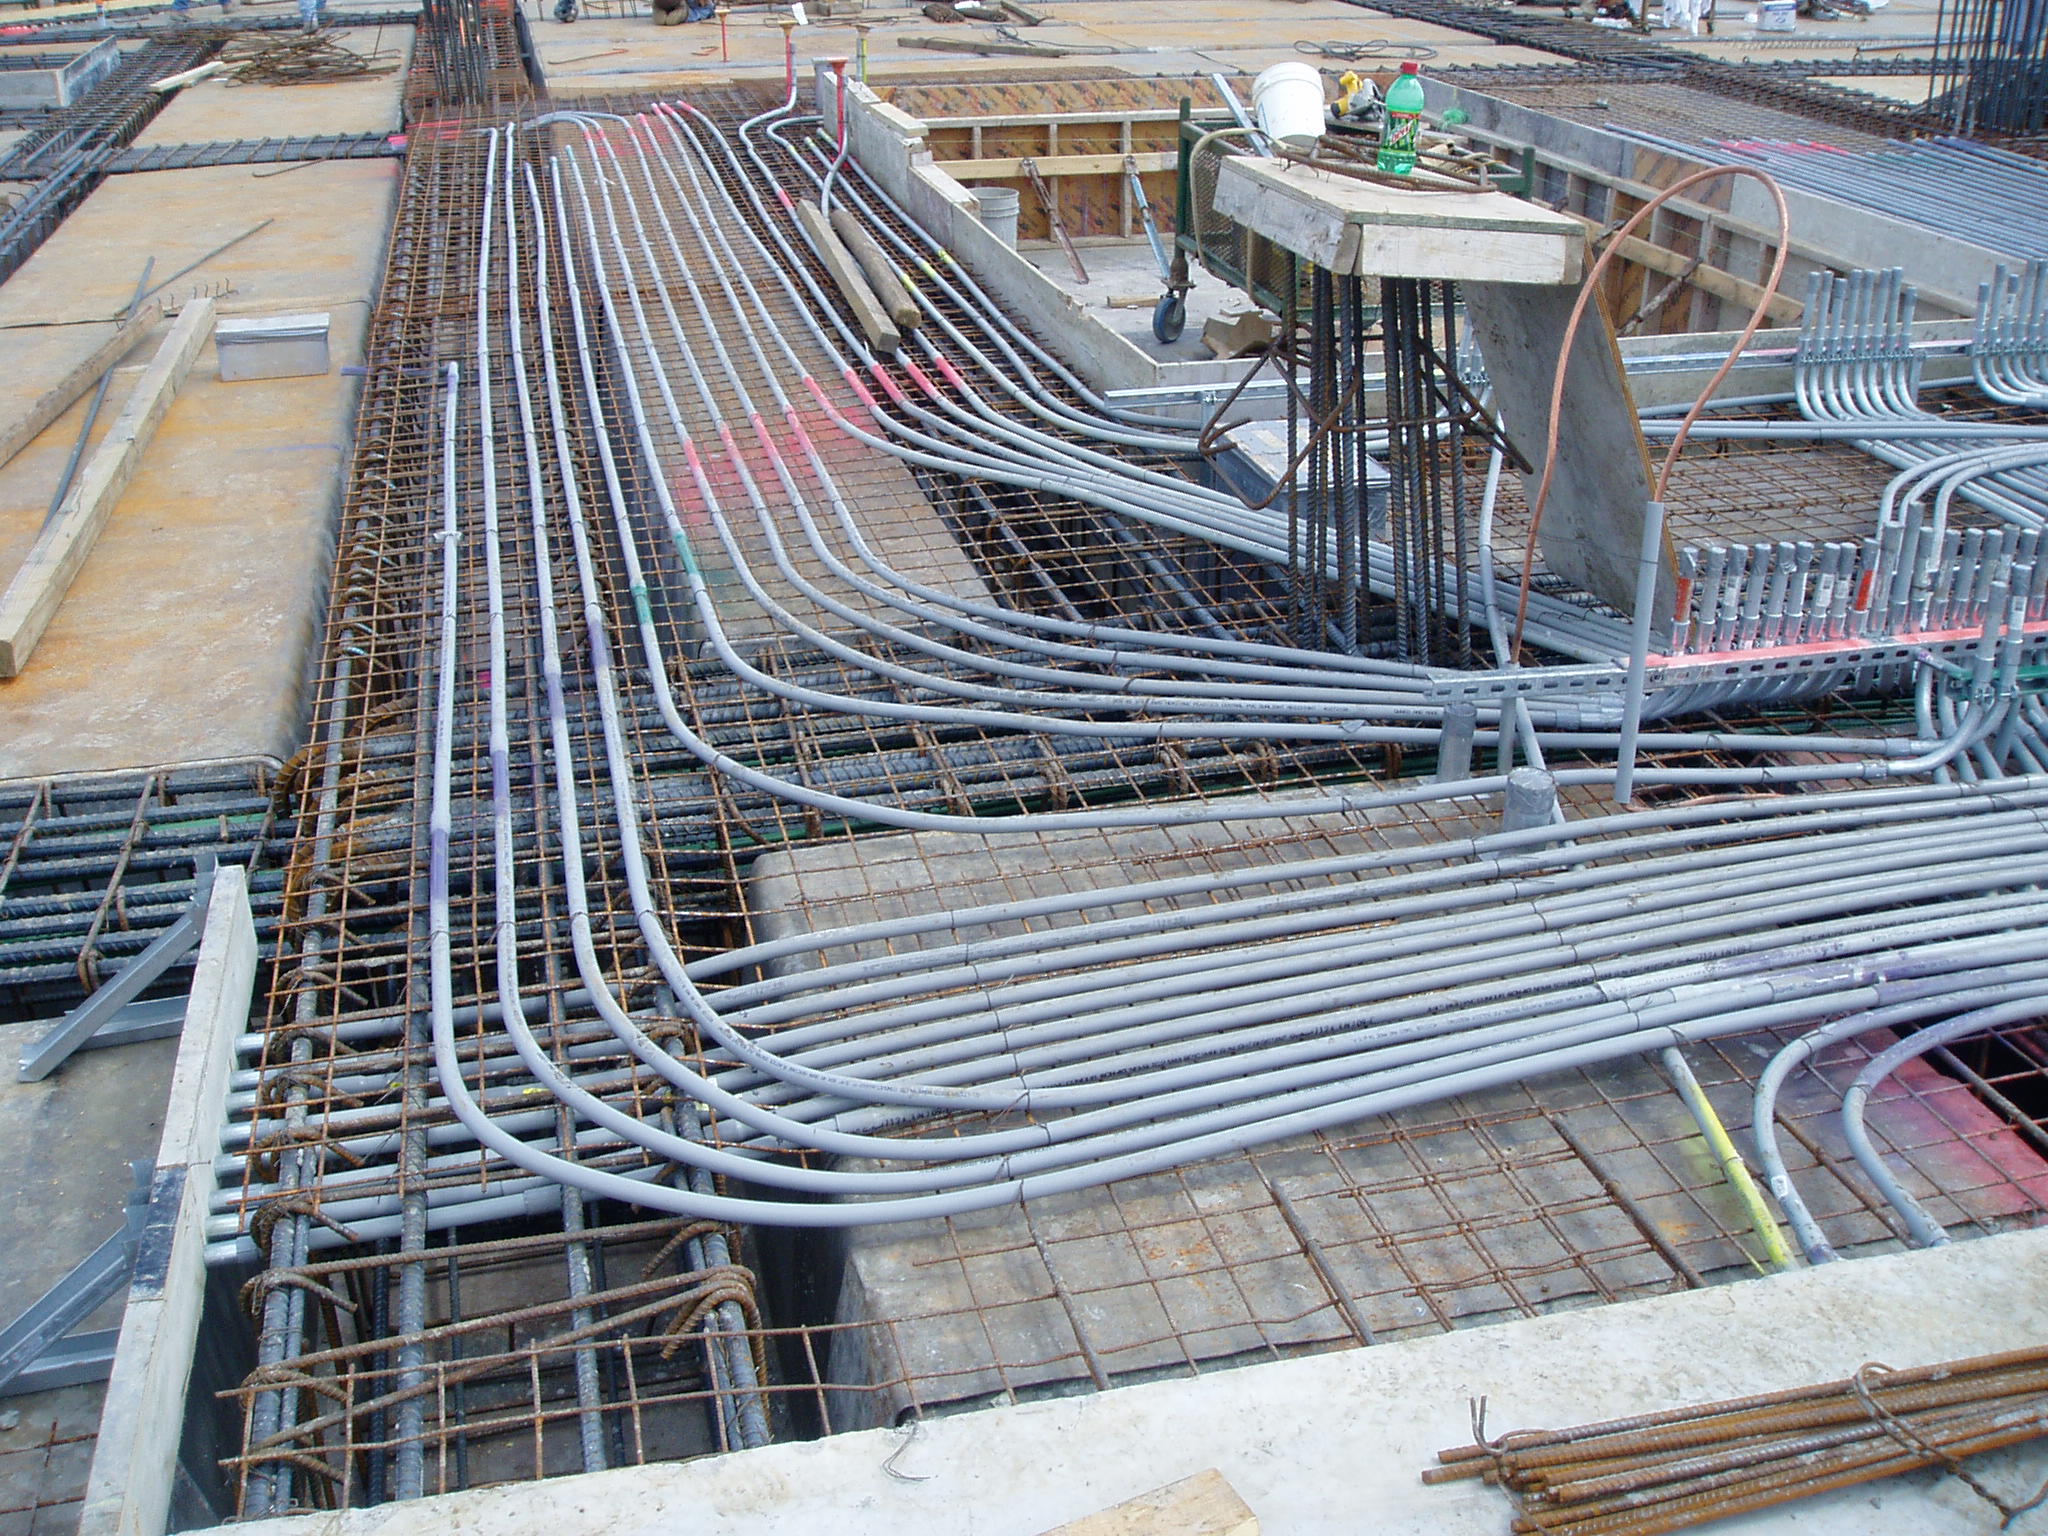
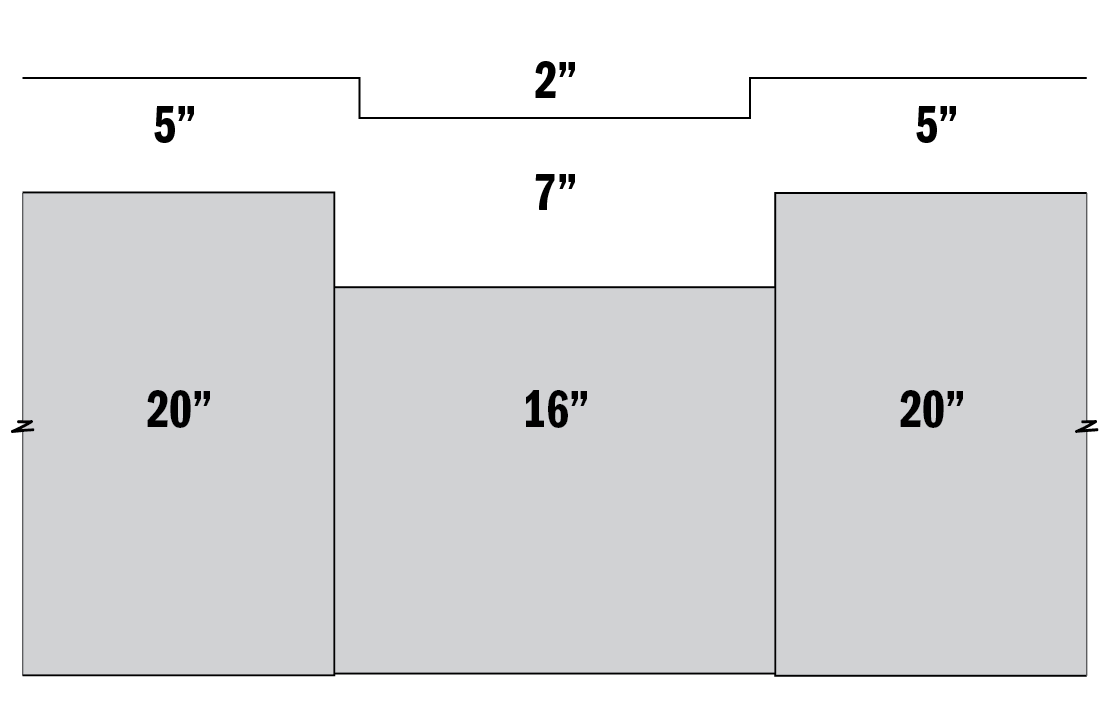
Pan Construction is often used in Health Care facilities - like hospitals. Walk in showers require recesses in the topping slab which usually impacts void depth. The easy way to accommodate a recess is to go to a shallower pan under the recessed slab. If the standard depth pan is 20", we can place 16" or even 14" pans in select areas to accommodate recesses. Even if the recess is only 2", placing a 4" shallower pan is more cost effective than insisting on a hard 2" offset. The contractor simply pours a thicker topping slab above the shallower pans to achieve the 2" offset. This technique can also be used for areas with excessive conduit or mechanical runs.
Slopes to Drains:
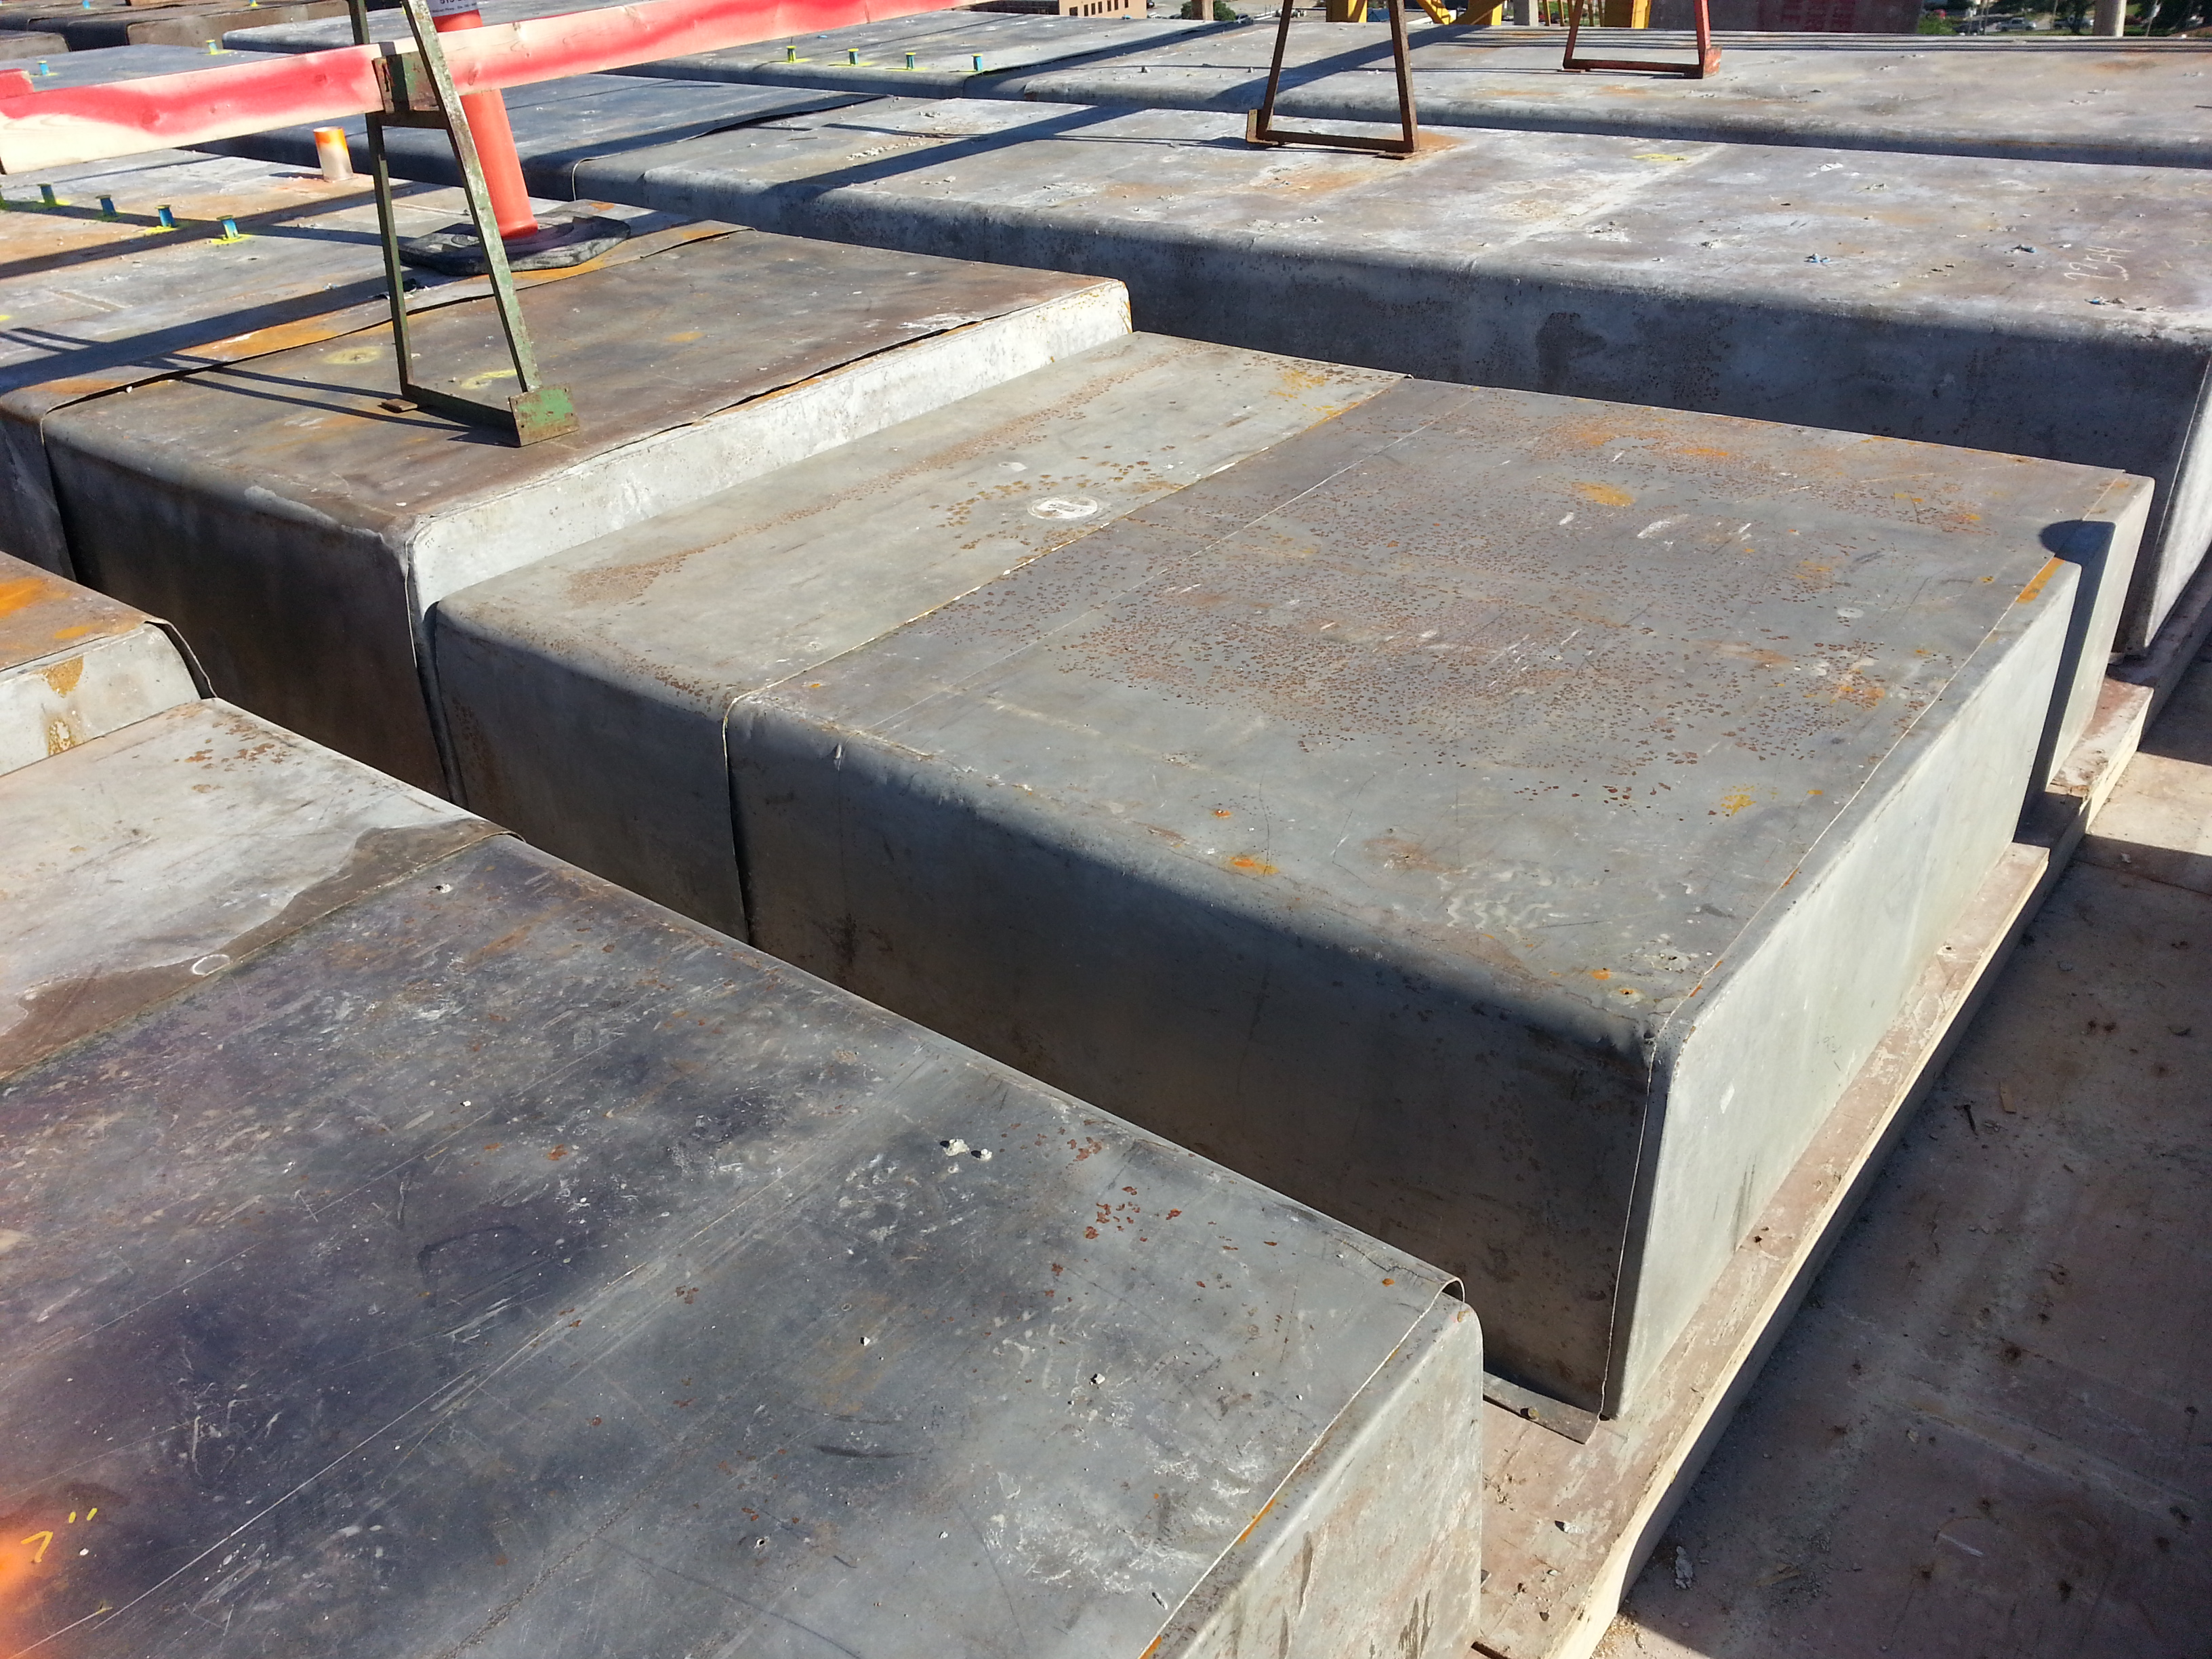
Sometimes the layout or end use of the structure requires that the top of the slab slopes to drains. Because the topping slab is typically no greater than 5", sloping is best done by warping the form deck to the low spots. Floor drains should be placed near the edges of bays next to columns or walls so the framing can incorporate the desired slope. Creating low spots in the middle of bays or in mid-span is very difficult to accomplish.
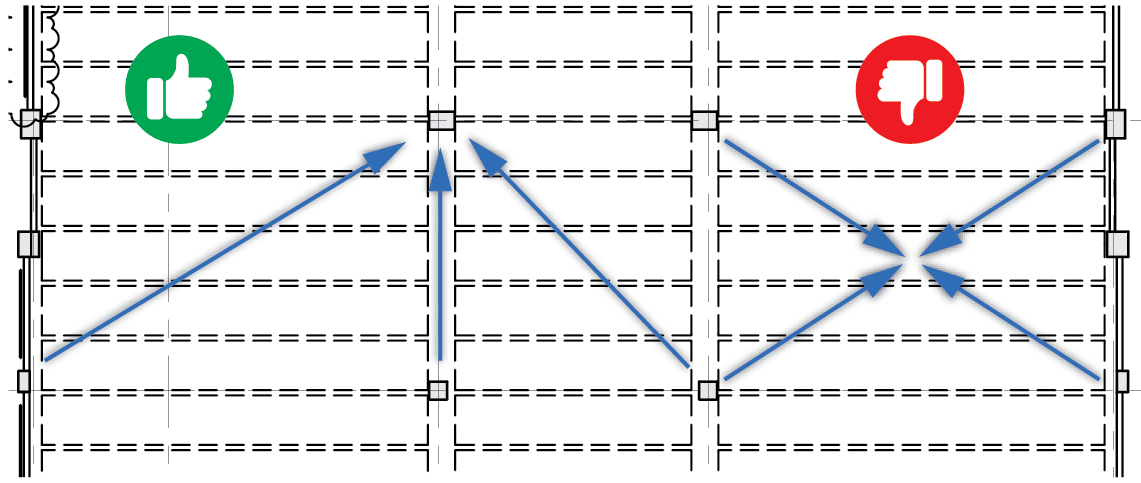
Floor Drains:
Floor drains can be problematic, particularly if the specified drain requires a hole to be cut in the steel pan. When possible, drains should be selected to fit within 4.5" to 5" topping slab or a box-out placed in the slab so the drain can be placed later. When those options don't work, pans are replaced by wood boxes at a considerable cost.
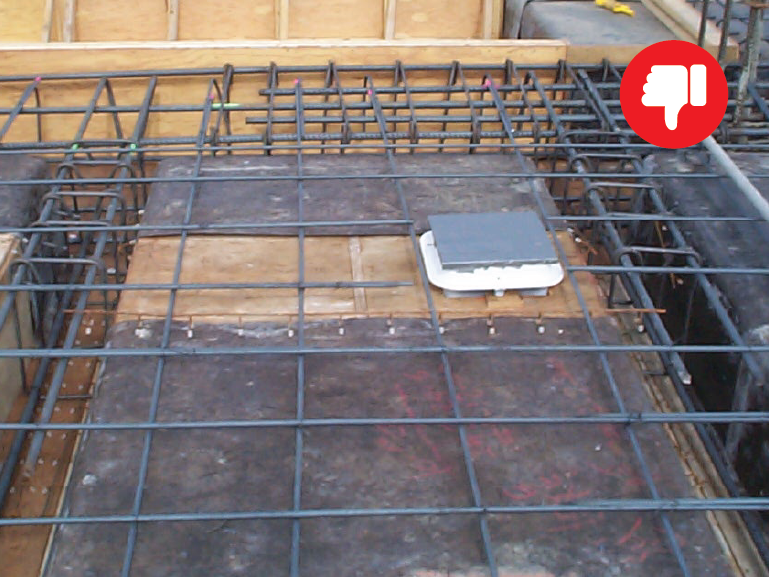
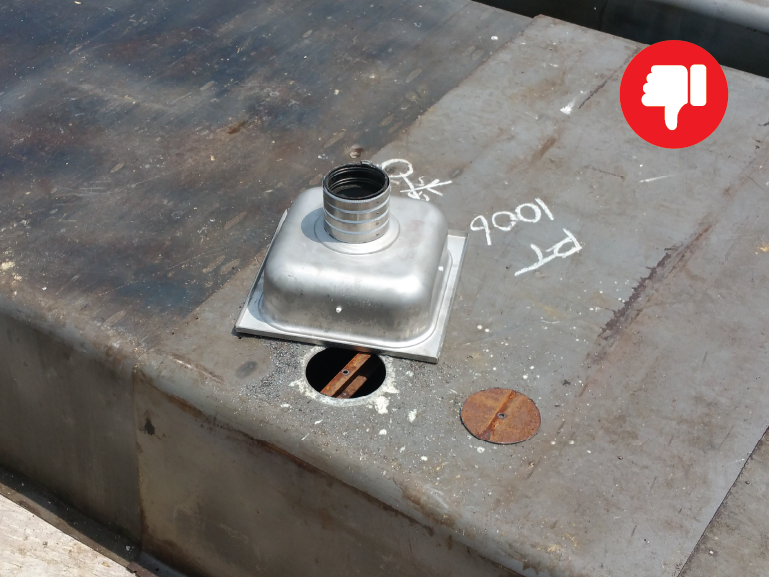
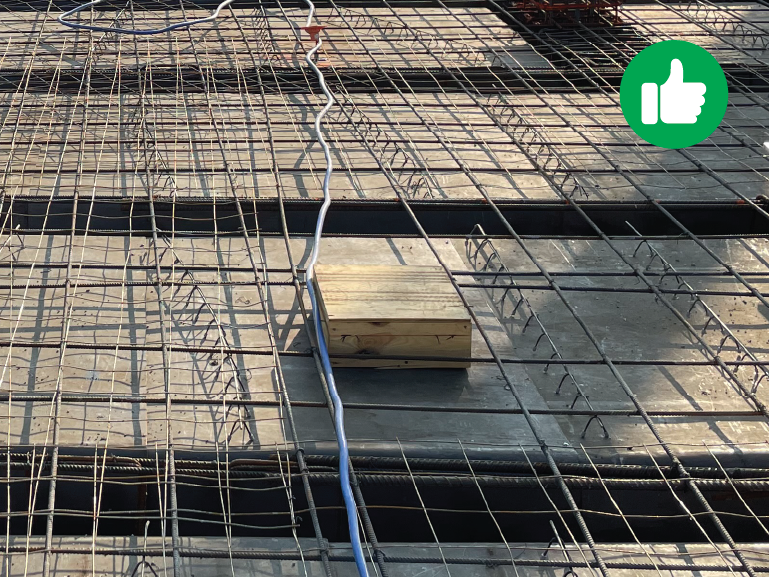
Floor Drain Detail:
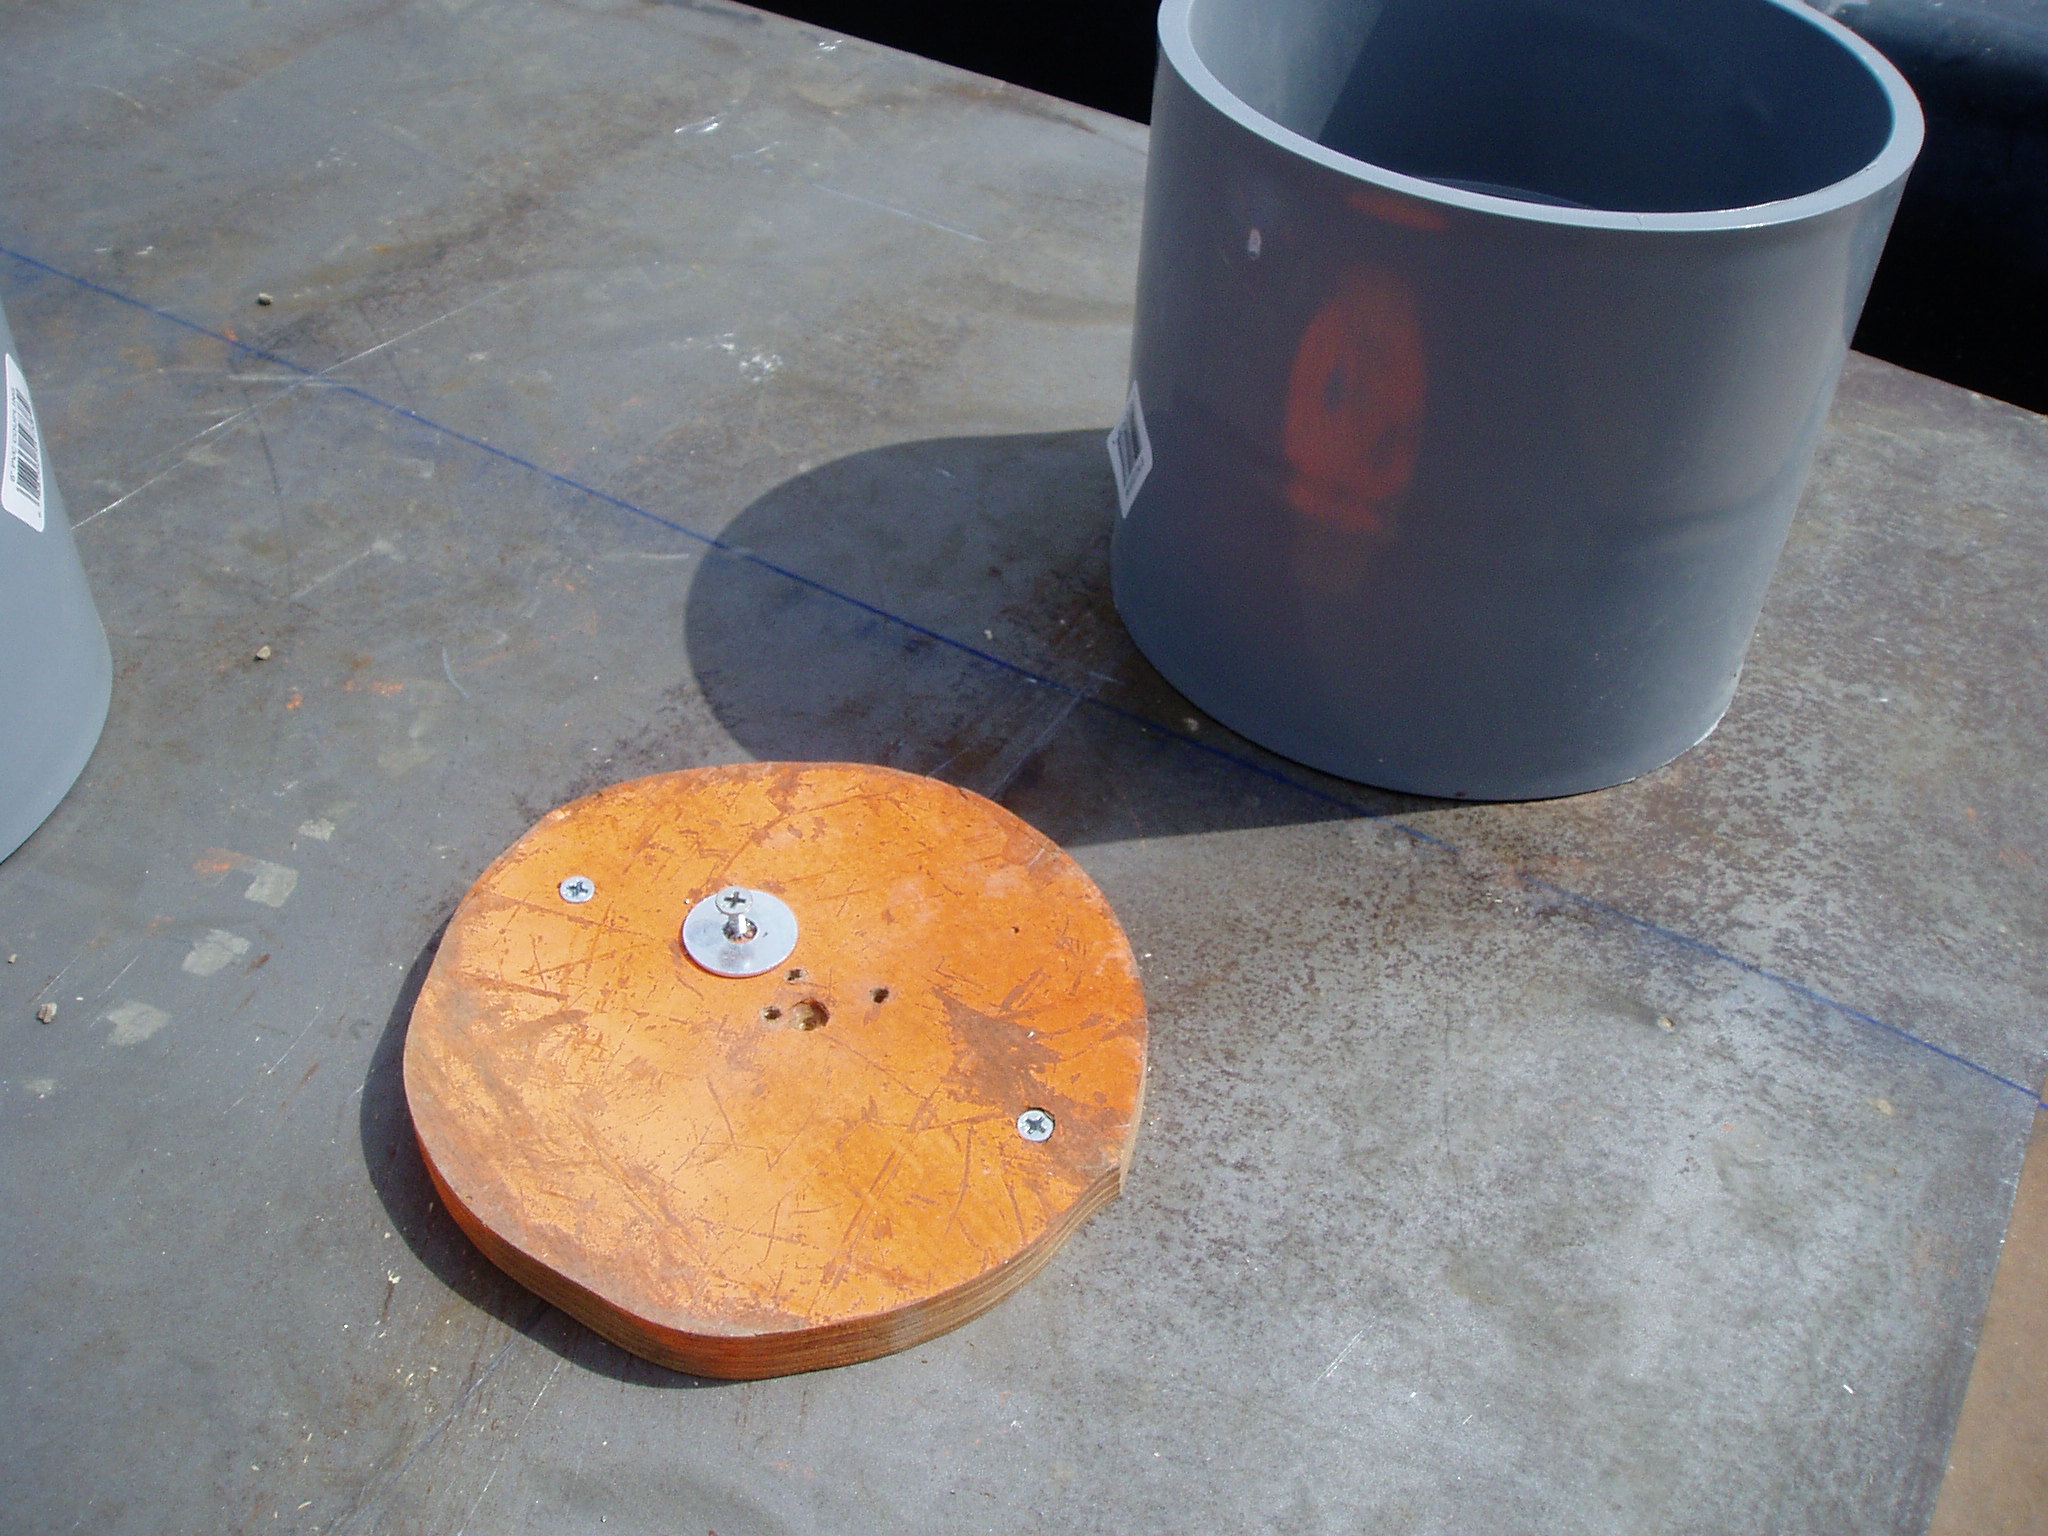
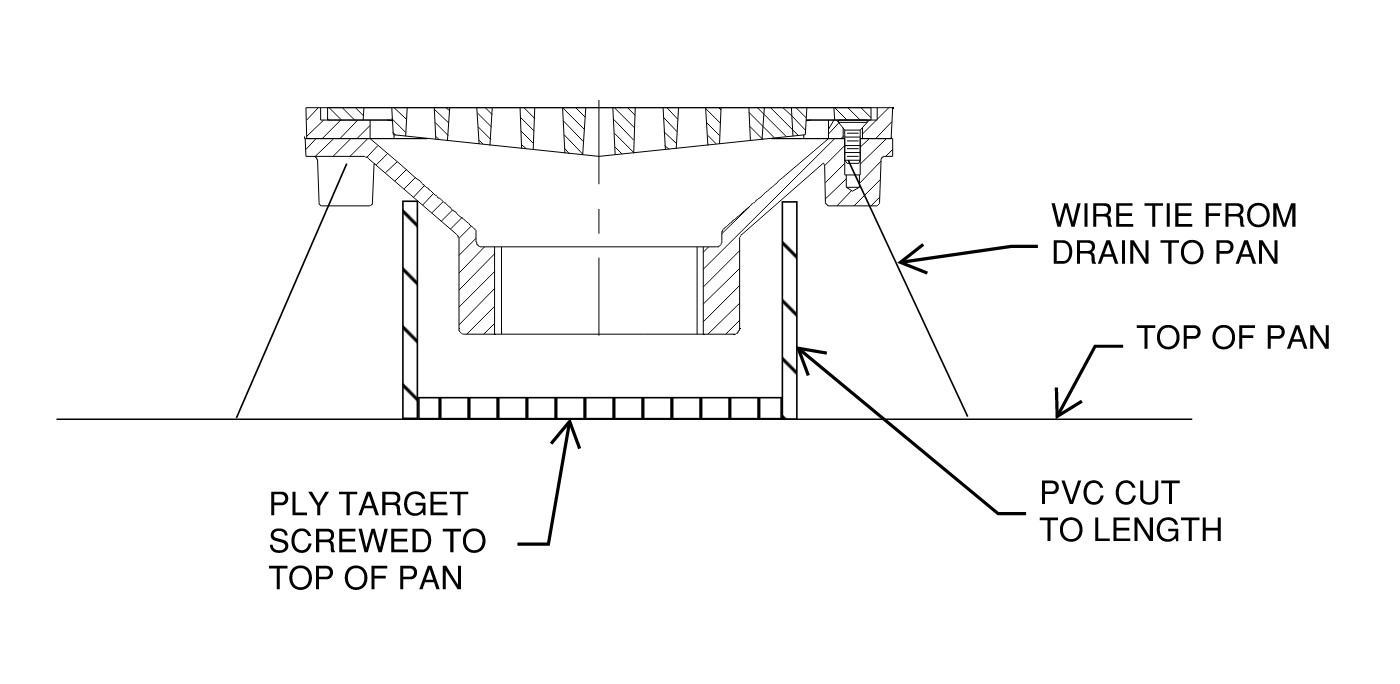
Shallow profile floor drains should be specified to fit within the pan topping slab. Often, the drain profile depth does not match the topping thickness. A field trick using plywood targets and PVC pipe cut to length creates seats where the floor drain can be fastened to the top of the pan works in most cases. The PVC sleeve stays within the concrete and creates the space to attach the waste pipe from below. When deeper drains are required, this technique can be used with shallower pans as noted in the recesses section.
Embeds and Inserts:
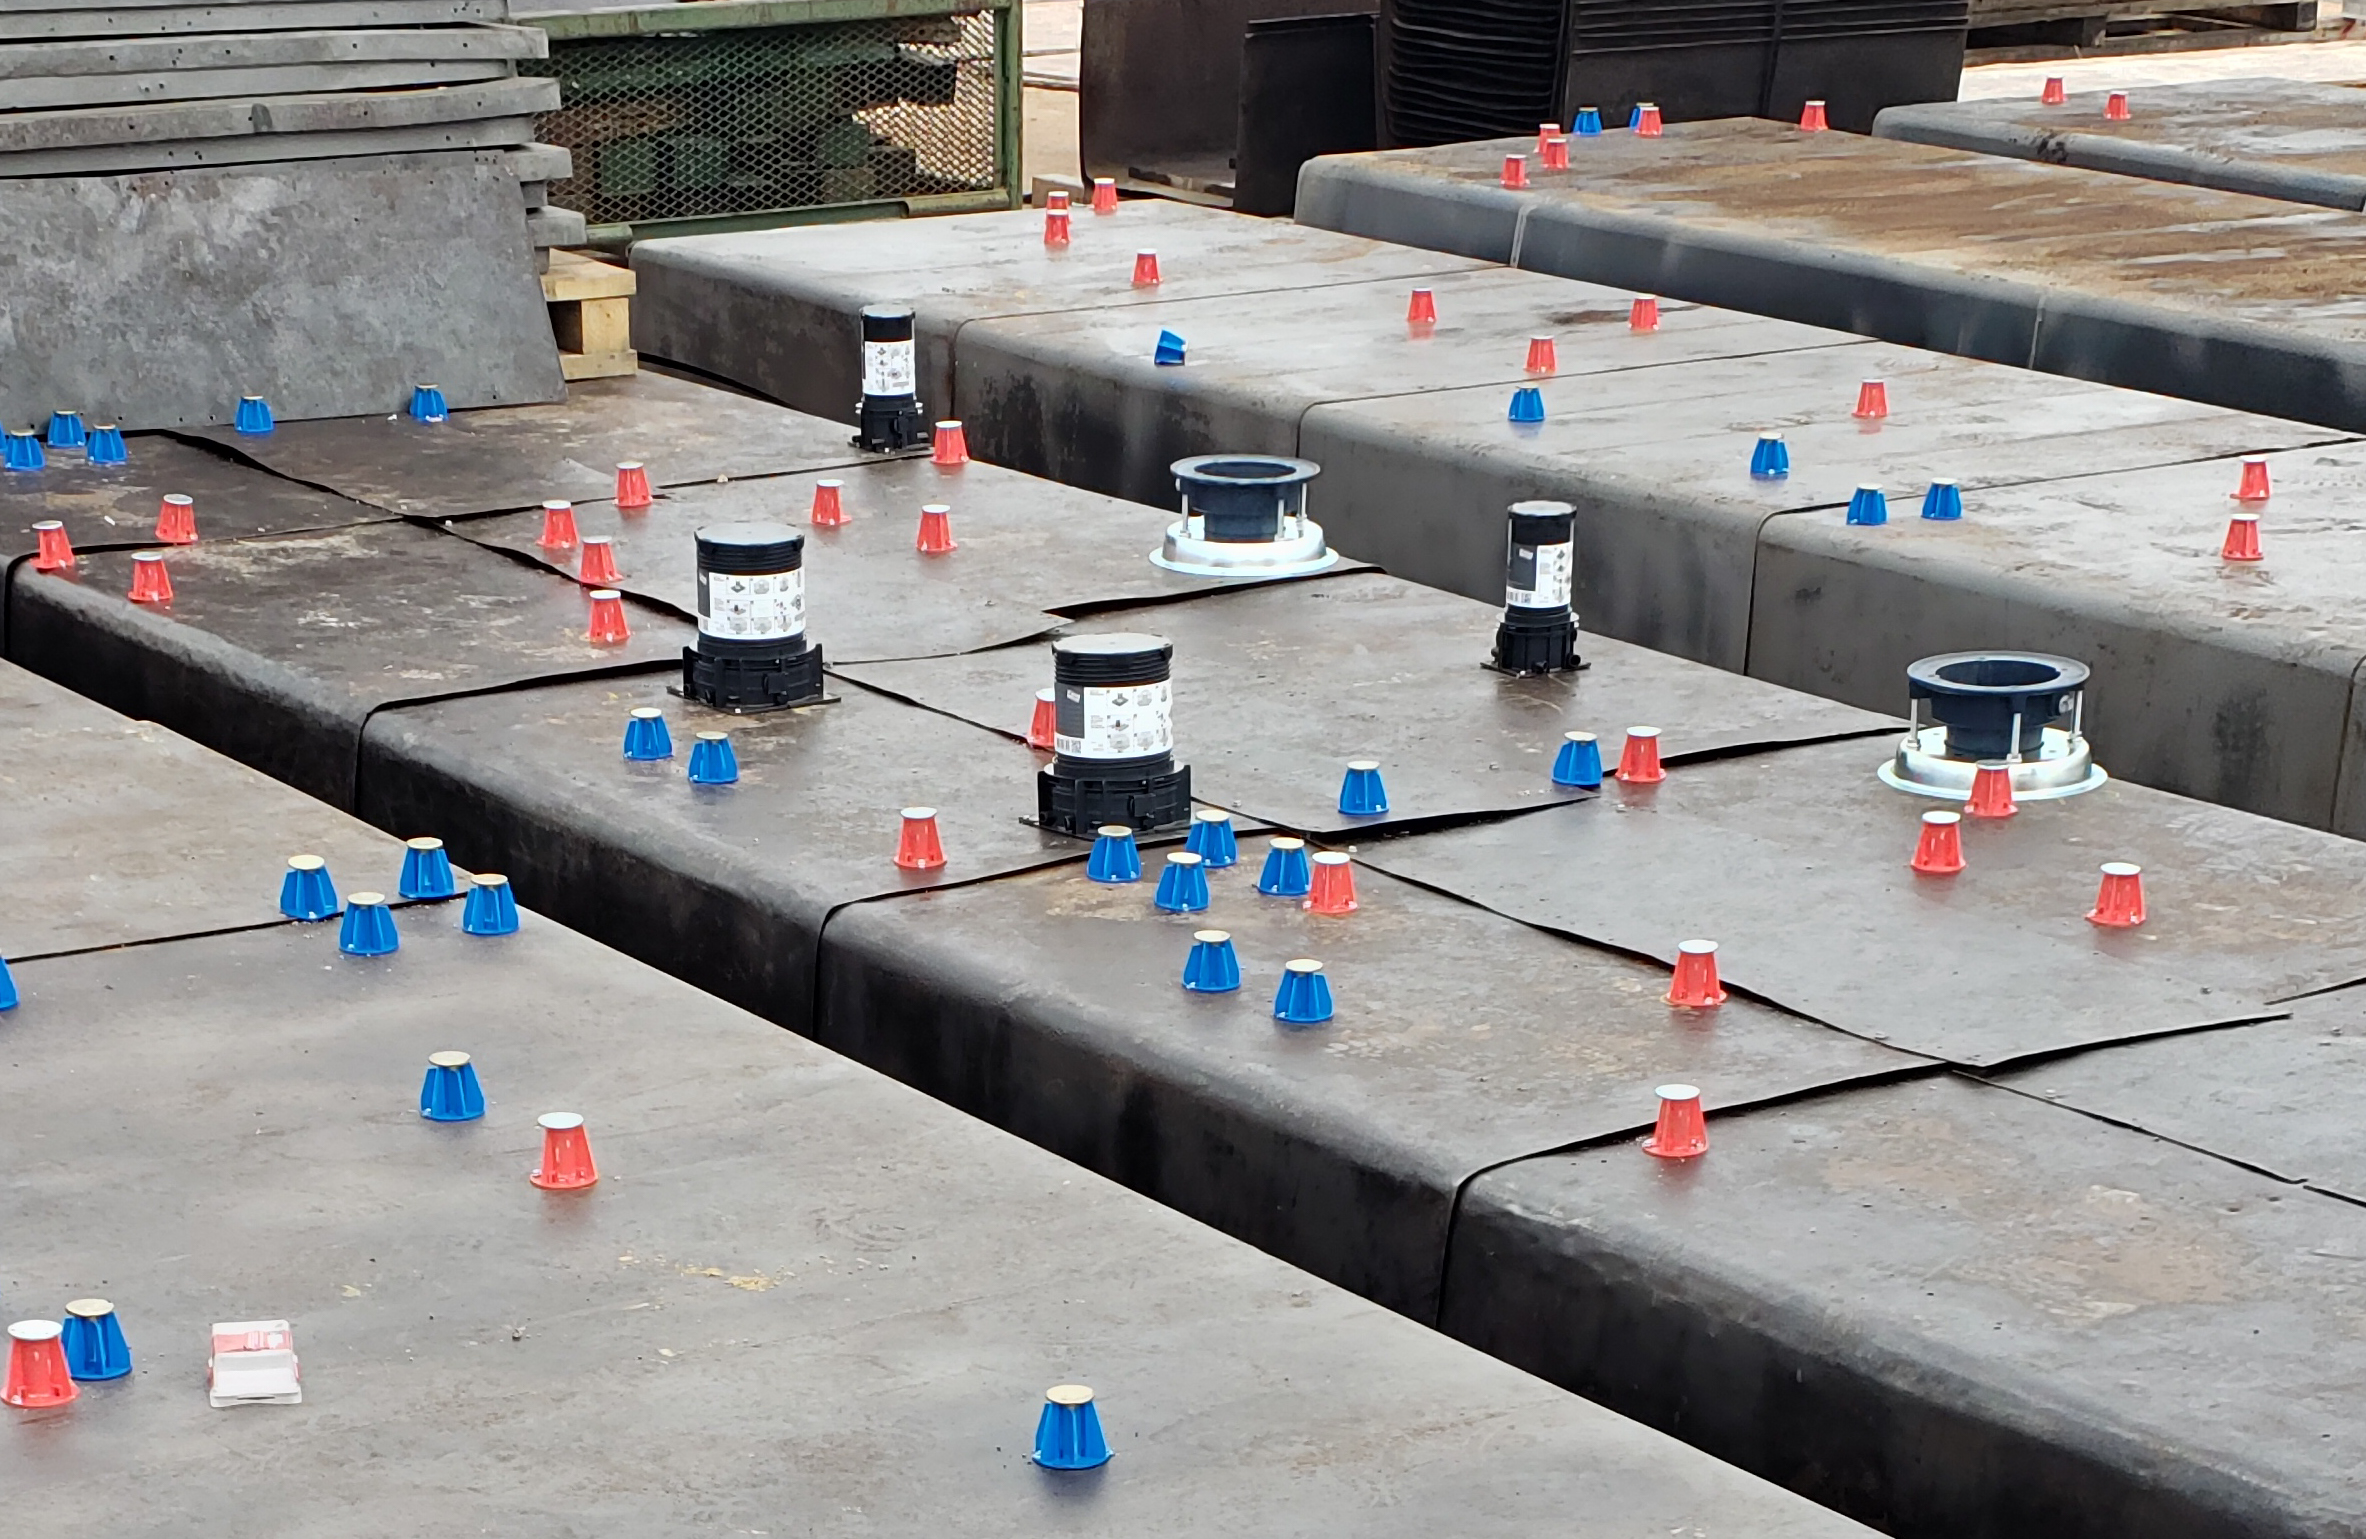
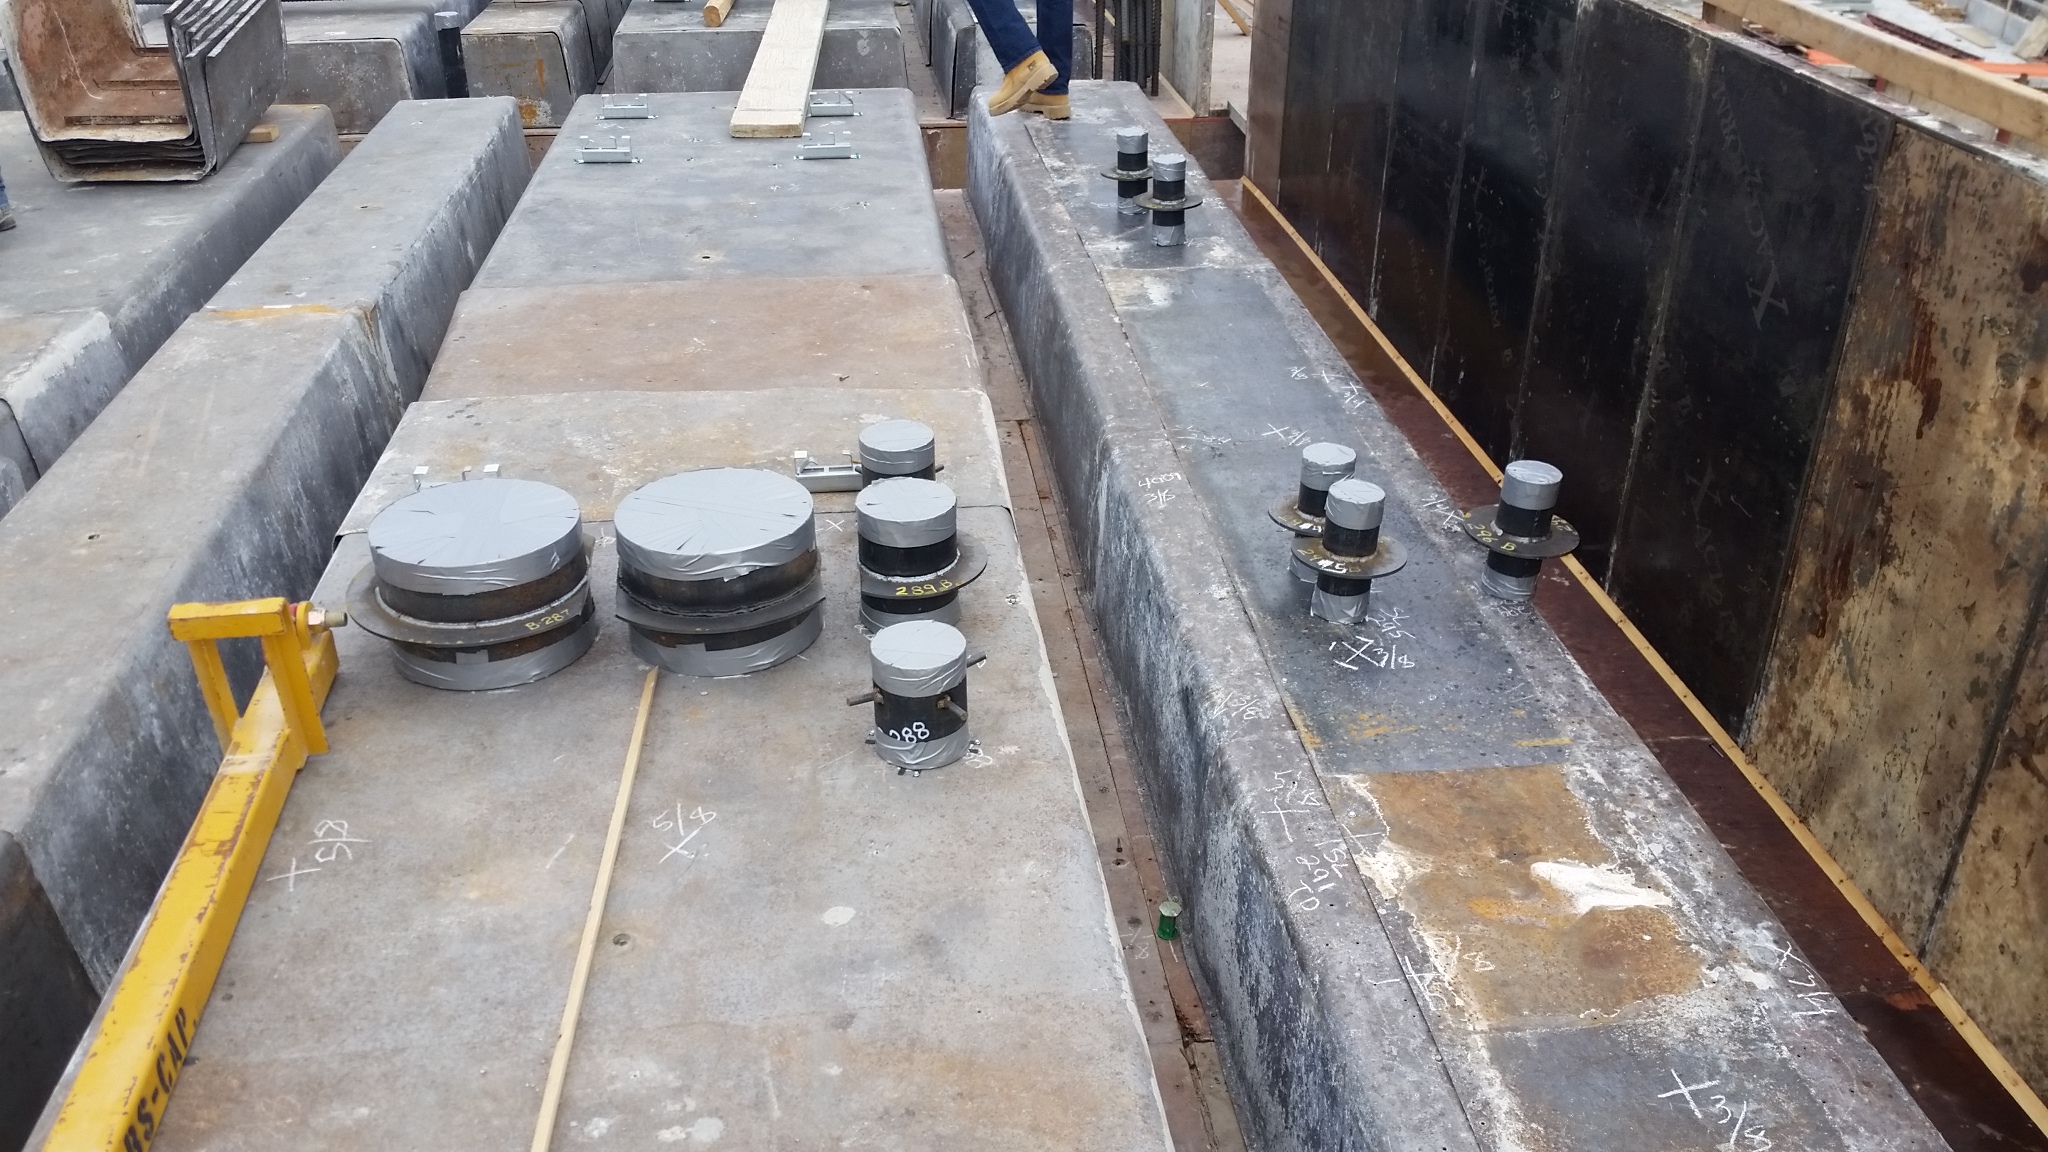
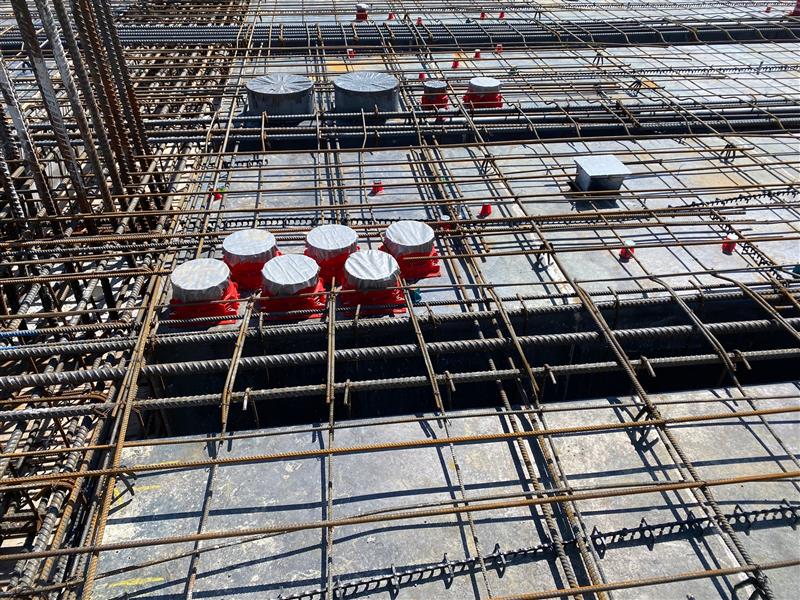
The need to hang equipment from the underside of poured decks often requires the placement of inserts and embeds. These inserts should be placed in the tops of the pans and not at the soffits of the beams/joist to avoid interference with reinforcing steel. How inserts are attached can have a big impact on pan finish. Inserts screwed into the tops of pans make pan recovery difficult and often deform the pan. Since pans are rearranged on successive pours, these deformities will show up throughout the structure.
We recommend the Hilti BX 3-ME-22 Cordless Nailer or a similar powder actuated tool for attaching these inserts. These tools can shoot ring shank nails that keep the insert tight for concrete placement but have less impact than screws when recovering the pans. Drive rivets are also used when attaching inserts or embeds to steel pans. These fasteners provide holding power during the pour and do not deform the pans during the recovery process.
 US Dollars


